
How to Clean Sneakers: A Video Guide
With summer on the horizon, there’s no better time to break out the pristine white kicks; easy, casual and timeless, the white trainer goes with pretty much all summer wear. But no sneaker stays white forever, and sometimes one wear is all it takes to bring your beloved footwear from sparkling to filthy. Fortunately, cleaning sneakers is incredibly easy if you have the right equipment to hand. Check out our handy video guide on how to clean sneakers below to see what we mean.
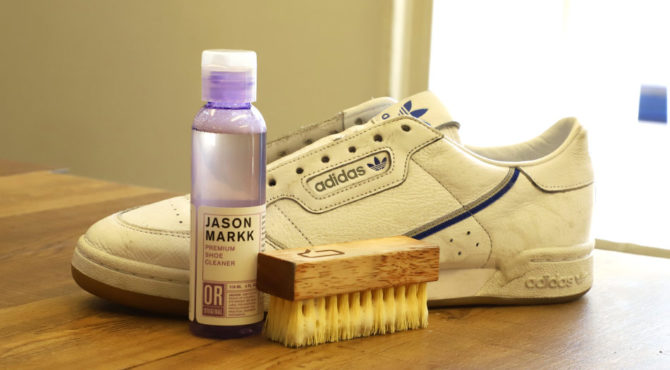
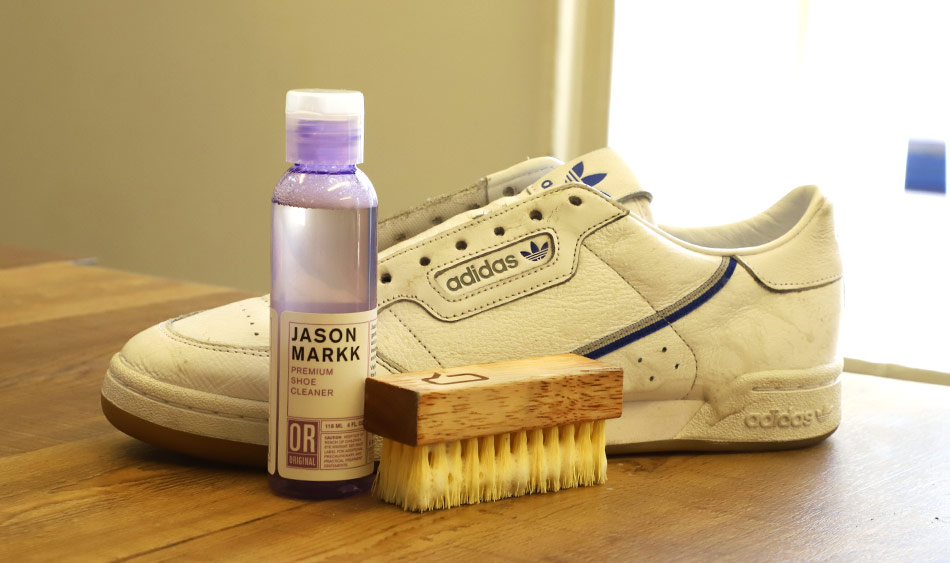
Here’s a quick rundown of what you’ll need, and the steps we take to get those adidas Continental 80s back to their original gleaming white:
You’ll need:
- Sneaker cleaning solution
- A brush (preferably natural bristle or horsehair)
- A basin of warm water
- Microfibre towel
- Sneaker cleaning wipes
- Protector spray
- (Optional) New laces
- (Optional) Midsole pen to match your trainers’ colour
Step 1: Remove the laces. Whether you’re swapping them out for new ones or giving them a spin in the washing machine (we recommend popping them in a washing net or inside a pillow case), you’ll need to remove the laces to get into all the nooks and crannies.
Step 2: Brush away any loose dirt or debris. This helps prevent scratches and just makes life a bit easier going ahead.
Step 3: Wet the brush in the water basin and apply your sneaker cleaning liquid of choice to the bristles. A little goes a long way, but don’t be afraid to use as much as you like.
Step 4: Scrub all the affected areas of the shoe vigorously (including the sole if you’re a perfectionist)

Step 5: Use the towel to dry off excess water and foam, and to give any extra cleaning to areas you may have missed
Step 6 (Optional): If needed, give the midsoles another once-over with a cleaning wipe
Step 7 (Optional): If you’re going the whole hog, use your midsole pen to restore the trainer’s original colour. Shake the pen vigorously, then pump the tip several times onto a paper towel or spare sneaker wipe until the paint starts to flow. Use the chiselled tip to apply an even coat to the required areas. Don’t worry if you make a mistake; a sneaker wipe will clean up any excess while the paint is still wet. Wait for the midsole to dry completely before moving on to the next step.
Step 8: Once the sneakers are completely dry, apply a thin, even coat of your protector spray of choice. Hold the container 15-20cm away from the shoe and spray until all surfaces are coated, making sure not to over-apply. Wait to dry, usually around a minute or two.
Step 9: Relace the trainers, with the originals or brand new laces if needed.
Step 10: Wear with pride!
This should get your beloved trainers back in peak condition in time for the summer, and hopefully keep them that way for longer. We’ve used tried and tested products from Jason Markk, Sneakers ER and Crep Protect, but feel free to mix and match with your own go-to brands.
You can find a selection of cleaning products below or shop our full selection both in-store and online now.


